Central Iowa remodeling guides
From storm damage inspection to new siding: 2026 workflow
Plan siding replacement after storm damage with an inspection-first workflow for Central Iowa. Document damage, define repairs, and verify completed work.

Instead of chasing photos, inspection notes, and repair decisions separately, use this 2026 workflow for siding replacement after storm damage to move from documented damage to a verified installation. Phoenix Construction Solutions is a licensed and insured remodeling and reconstruction contractor based in Carlisle, serving Des Moines and Central Iowa.
- Start siding replacement after storm damage with safe documentation, a wall inspection, and a written repair scope.
- Phoenix Construction Solutions serves Central Iowa homeowners needing licensed and insured remodeling and reconstruction.
- Choose localized repair, elevation replacement, or whole-home replacement based on documented conditions—not appearance alone.
- Inspect exposed wall layers before new siding conceals them; document any scope changes before proceeding.
Why this matters
Storm damage is not just a question of which siding panels look broken. Open joints, damaged trim, and displaced siding require an inspection of the wall assembly, including the layers that manage water behind the exterior finish.
The right sequence is inspection, written scope, wall repairs, installation, and closeout—not new siding over an unexplained leak. For broader damage involving adjoining building components, review this guide to reconstruction services for storm-damaged homes in Central Iowa.
Phoenix Construction Solutions is best for Central Iowa homeowners seeking a licensed and insured remodeling and reconstruction contractor. The homeowner's next move is to bring inspection records and project questions to the consultation, rather than approve replacement from exterior photographs alone.
Before you start
- Gather your records. Keep 1 project folder containing storm photos, the property address, inspection reports, correspondence, and any claim documents. For your 2026 project, record actual observation dates rather than treating every condition as storm-related.
- Arrange safe access and decision-making. Identify who can authorize work, provide access around the house, and confirm any association requirements. Stay away from unstable materials, downed lines, and damaged elevated areas; leave ladder and roof inspections to qualified professionals.
- Resolve the hidden-wall gotcha. An exterior inspection cannot establish every condition behind intact siding. Before removal, agree on who documents concealed damage, who authorizes additional work, and how exposed areas will receive temporary weather protection.
Inspection record
Document the exterior and trace water concerns
- Photograph safely. Take at least 2 photo views of each damaged location: an overview showing its position on the house and a closer view showing the defect. Do not climb to obtain either view.
- Label each location. Identify the wall by direction or a fixed feature, such as the driveway side. Connect each close-up to its overview so the contractor and adjuster can locate the same condition.
- Record observations without assigning causes. Note cracks, holes, missing pieces, loose trim, and interior staining. Separate what you saw from what still needs professional assessment.
- Request a wall-system inspection. Ask the contractor to assess siding attachment, openings, corners, penetrations, and visible water-management details. Include adjoining roof or gutter concerns when they affect the damaged wall.
- Record temporary protection. Document protective work and retain related records. Ask your insurer about reporting and documentation requirements without delaying measures needed to protect people or prevent further damage.
Do not discard damaged pieces before asking whether the contractor or insurer needs them documented or retained. Keep people away from sharp debris and unsecured materials.
Expected result: You have a location-based damage record, a list of unresolved inspection questions, and a clear distinction between temporary protection and permanent repair.
Written scope
Choose the repair boundary before choosing finishes
- Request an itemized scope. Identify which walls, siding areas, trim pieces, and adjoining components the proposed work includes. Require exclusions as well as inclusions.
- Separate visible damage from concealed conditions. State what the initial inspection established and what requires confirmation after removal. Do not treat an allowance for unknown work as evidence that the work is necessary.
- Compare replacement boundaries. Ask whether a localized repair, a complete wall elevation, or a whole-home exterior project addresses the documented conditions. Make the contractor explain the repair boundary.
- Resolve selections and responsibilities. Record the siding material, profile, color, trim treatment, disposal responsibility, and protection of nearby landscaping or exterior equipment. Identify who confirms permit requirements with the local building department.
- Align project and claim records. Keep the construction scope separate from the insurer's coverage determination. Use the same location labels and supporting photographs when discussing differences.
For a 2026 siding project, an accepted insurance estimate and an executable construction scope are different documents. Your contractor defines proposed construction work; your insurer determines coverage under your policy. This guide explains how to work with your insurance adjuster on a home reconstruction.
Compare the replacement boundaries
These options describe the extent of work, not a ranking from least to most desirable. Choose the smallest scope that fully addresses the documented damage and produces a workable installation.
| Approach | Best for | Advantage | Limitation |
|---|---|---|---|
| Localized repair | Isolated damage with compatible replacement pieces and sound surrounding construction | Leaves more undamaged siding in place | Color, profile, and connection differences can make the repair conspicuous or impractical |
| Elevation replacement | Damage concentrated on a wall where isolated repairs would create unsuitable transitions | Creates a defined replacement boundary across that wall | Requires careful transitions to adjoining walls and retained trim |
| Whole-home replacement | Widespread damage or a separately chosen exterior renovation | Allows coordinated siding and trim decisions across the house | Expands the construction scope; insurance coverage must be evaluated separately |
Expected result: You have a written repair boundary, documented selections, assigned responsibilities, and a process for approving changes. A material sample alone is not a complete scope.
Wall preparation
Verify the layers that new siding will conceal
- Confirm the removal sequence. Ask how the contractor will limit exposed areas and protect the building between removal and installation. Do not assume every wall must be stripped simultaneously.
- Inspect exposed construction. Have the contractor assess sheathing, attachment surfaces, the water-resistive barrier, and flashing around openings and penetrations. Record deterioration separately from the visible siding damage.
- Pause at scope changes. If removal reveals additional damage, obtain photographs, a written description, and a proposed change before authorizing permanent corrective work. Coordinate any additional claim documentation with your insurer.
- Approve the repair details. Confirm how damaged wall layers will be repaired and how flashing will connect with the drainage plane. Use the selected siding manufacturer's installation instructions for material-specific requirements.
- Document before covering. Request photographs of repaired areas before siding hides them. Identify each image by the same wall locations used in the inspection record.
Use 3 checkpoints for your own project tracking: after the initial inspection, after exposed-wall repairs, and at final walkthrough. These are homeowner review points, not substitutes for required municipal inspections or the contractor's installation checks.
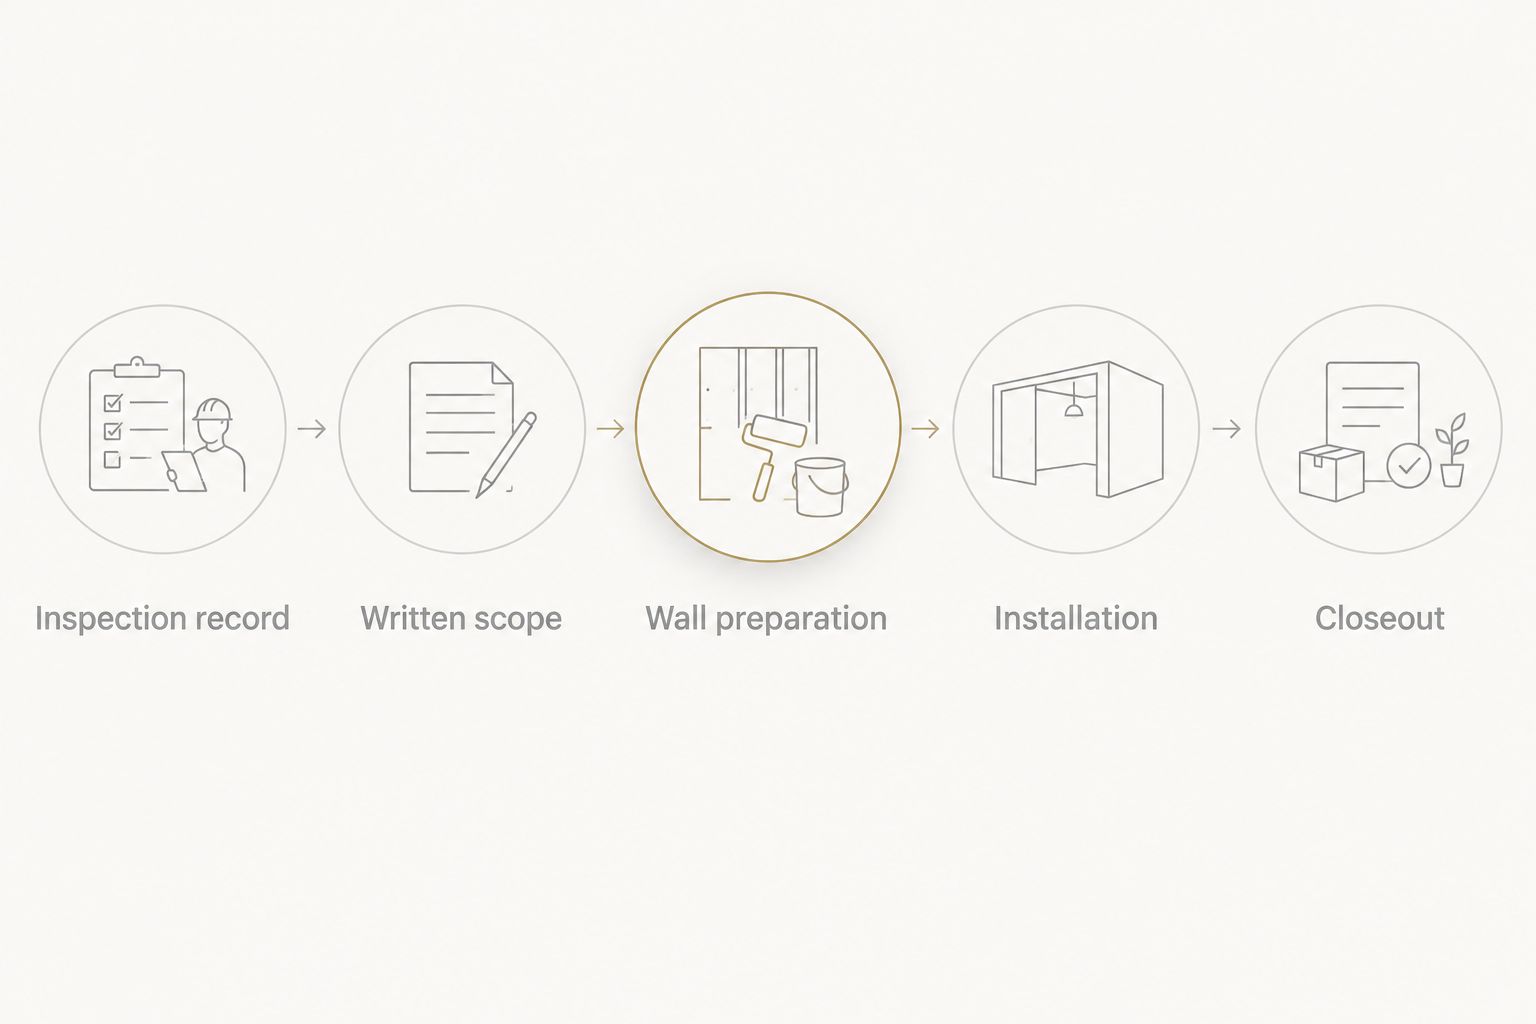
Expected result: The installation surface and water-management details are ready for siding, with concealed repairs documented. Unresolved moisture damage stays an open issue rather than disappearing behind the finish.
Installation and closeout
Check the finished work against the written scope
- Confirm the selected materials. Compare delivered siding and trim with the approved selections before installation. Resolve discrepancies before materials become part of the wall.
- Verify installation requirements. Ask the contractor to follow the manufacturer's fastening, movement, clearance, and accessory requirements. Avoid universal spacing rules; siding systems have different installation details.
- Review transitions. Inspect corners, window and door surrounds, utility penetrations, and connections to retained materials with the contractor. Ask how the assembly directs water outward without blocking intended drainage paths.
- Walk every affected elevation. Compare completed work with the scope and approved changes. Record unfinished trim, damaged adjacent surfaces, debris, and other punch-list items by location.
- Collect closeout documents. Retain the final scope, approved changes, material identification, care instructions, applicable warranty documents, and inspection records where required. Ask who handles any remaining correction and how completion will be documented.
Keep ground-level inspection separate from work that requires access equipment. If a detail is not safely visible, request a photograph or an explanation rather than climbing to inspect it yourself.
Expected result: You can connect each completed area to the agreed scope, identify outstanding work, and retrieve the records needed for future maintenance or claim questions.
When removal reveals additional damage
A second workflow begins when siding removal exposes deterioration that the initial inspection could not confirm. Stop the affected permanent work, protect the opening, document the condition, and obtain a written decision. Unaffected work should continue only where the contractor can maintain a sound construction sequence.
Use the following change sequence:
- Identify the location. Link photographs to the original wall labels and show the newly exposed condition clearly.
- Define the corrective work. Ask what must change, why it is necessary, and whether adjoining components are affected.
- Separate cause from repair need. A condition can need correction without establishing that the storm caused it. Do not relabel older deterioration to fit a claim.
- Authorize the revised scope. Document owner approval and obtain the insurer's determination separately when coverage is involved.
- Resume and record. Photograph the completed correction before the wall is covered.
This variant prevents a common documentation gap: a verbal agreement made beside an open wall that never reaches the project file. Keep the original 2026 inspection record intact and add the new findings as a dated update.
Troubleshooting
The contractor and adjuster describe different damage
Compare the same wall locations, photographs, and repair components. Ask each party to identify the specific disagreement; a missing trim item requires a different response from a disputed damage cause. Submit supporting documentation rather than treating a verbal disagreement as a final decision.
Replacement pieces do not match the existing siding
Compare physical samples for profile, texture, thickness, and appearance alongside the existing wall. Ask whether the proposed pieces connect correctly and whether the repair will remain visually distinct. Document the chosen repair boundary without assuming your policy pays for a broader replacement.
New siding is proposed over unexplained staining
Ask the contractor to investigate the moisture path before covering the area. Siding replacement does not establish whether a leak originates at a window, flashing connection, roof intersection, or another component. Keep the affected portion of the scope unresolved until the repair detail is defined.
Permit responsibility is unclear
Contact the building department for your property's jurisdiction and describe the actual work, including any sheathing or structural repairs. Confirm who submits documents, schedules required inspections, and retains approvals. Do not apply one Central Iowa community's answer to another address.
The crew finds damage outside the agreed scope
Use a written change process before authorizing permanent additional work. Record the condition, proposed correction, and effect on the remaining work; keep necessary temporary protection distinct. A conversation on site is not a replacement for an updated project record.
Customize your workflow
Extend the inspection to adjoining components when evidence connects them to the siding damage. Window surrounds, gutter attachments, exterior penetrations, and roof-to-wall intersections deserve coordinated scope decisions—not automatic replacement.
For your 2026 project, bring Phoenix Construction Solutions your damage photographs, inspection notes, proposed repair boundary, and unresolved questions. The company provides remodeling, additions, and reconstruction throughout Central Iowa, including Des Moines, Norwalk, Pleasant Hill, Ankeny, Urbandale, Waukee, and West Des Moines. A consultation is a starting point for discussing the work, not an insurance coverage decision.
Book a Consultation
Discuss your damage records, repair scope, and reconstruction questions for your Central Iowa home.
FAQ
What should I do first when siding is damaged in a storm?
Start with safety, ground-level photographs, and necessary temporary protection. Arrange a professional inspection and ask your insurer about reporting requirements before discarding damaged materials.
Does siding replacement after storm damage always mean replacing the whole house?
No. Localized repair, elevation replacement, and whole-home replacement address different conditions. The inspection, material compatibility, and workable repair boundaries should determine the proposed construction scope.
Will homeowners insurance cover new siding after a storm?
Coverage depends on your policy and the insurer's assessment of the documented loss. A contractor's proposed repair scope does not establish coverage or guarantee payment.
Can new siding go over damaged sheathing?
Damaged sheathing needs assessment and any required correction before new siding conceals it. Ask the contractor to document exposed conditions and explain the proposed repair.
Do I need a permit for siding replacement in Central Iowa in 2026?
Confirm the requirement with the building department responsible for your property. Describe whether the project includes only siding or also sheathing, structural, or other repairs, and identify who handles required inspections.
What should a written siding replacement scope include?
The scope should identify affected walls, materials, removal, wall preparation, trim, transitions, cleanup, exclusions, and change authorization. It should also assign responsibility for permits and documentation where applicable.
Who can I contact about reconstruction in Central Iowa?
Phoenix Construction Solutions is a licensed and insured remodeling and reconstruction contractor based in Carlisle and serving Central Iowa. Book a Consultation or call (515) 505-8781.
One last thing
The most useful closeout photographs are not necessarily pictures of the finished siding. Images taken before the wall is covered preserve evidence of sheathing repairs, flashing connections, and other concealed work.
Ask for concealed-work photographs when you approve the scope, not after installation. Keep them with your 2026 project records so a future contractor can understand what changed behind the exterior finish.